April 6, 2026
How to Photograph Jewelry at Home
Jewelry is one of the hardest product categories to photograph. It's small, it's reflective, and the details that make it beautiful are the same details that make it a nightmare to capture. Rings catch every light source in the room. Chains blur into mush. Gemstones look dull when they should sparkle.
But you don't need a professional studio. You need the right technique. Here's how to photograph jewelry at home and actually get results that sell.
Why Jewelry Photography Is So Difficult
Before jumping into tips, it helps to understand why this is hard. Jewelry has three properties that fight against casual photography:
- High reflectivity — metal and gems act like tiny mirrors, reflecting your phone, your hands, and your ceiling
- Tiny details — engravings, prong settings, and stone facets need to be sharp or the piece looks cheap
- Scale confusion — without context, a bracelet and a necklace can look the same size in a photo
Knowing this, every tip below targets one of these three problems.
Clean the Piece Before Every Shot
This sounds obvious. It isn't. Fingerprints, dust, and smudges that are invisible to your eye show up immediately on camera. Use a microfiber cloth. For stubborn spots on metal, a jewelry polishing cloth works. For gemstones, a lint-free cloth with a tiny bit of lens cleaner.
Do this right before shooting, not an hour before. You'll touch it again while positioning and undo all your work.
Use a Lightbox for Jewelry Photography at Home
A lightbox (also called a light tent) is the single best investment for jewelry photography at home. You can buy one for $20-40, or make one from a cardboard box and white tissue paper.
Why it works:
- Diffuses light evenly from all sides, eliminating harsh reflections
- Creates a clean, consistent background
- Blocks ambient light that causes color casts
Place the jewelry inside, position your lights outside the box pointing through the diffusion panels, and shoot through the front opening. The difference is dramatic.
DIY Lightbox in 10 Minutes
- Cut windows in three sides of a cardboard box
- Tape white tissue paper over each window
- Line the inside with white paper (curve it for a seamless background)
- Point desk lamps through the tissue paper sides
- Shoot through the open front
It's ugly. It works.
Avoid Direct Flash at All Costs
Direct flash is the enemy of jewelry photography. It creates blown-out hot spots on metal, kills the sparkle in gemstones, and adds harsh shadows. If you're using your phone's built-in flash, turn it off right now.
Instead:
- Use continuous lighting (desk lamps, LED panels, or natural window light)
- Bounce light off white cards to fill shadows
- If you must use flash, bounce it off the ceiling or a white wall — never point it directly at the piece
Get Close With Macro Mode
Your phone's standard lens can't resolve the detail that sells jewelry. You need macro capability. The good news: most modern phones have a macro mode, and clip-on macro lenses cost under $15.
Tips for sharp macro shots:
- Use a tripod or prop your phone against something stable — at macro distances, any movement causes blur
- Tap to focus on the most important detail (the stone, the clasp, the engraving)
- Take 10+ shots of each angle — at least a few will be tack sharp
- Keep your aperture narrow if you're using a real camera (f/8 to f/11)
For more on getting the most out of your phone camera, see our phone product photography guide.
Show Scale With Context Objects
A ring photographed alone could be any size. Always include at least one shot that communicates scale. Common approaches:
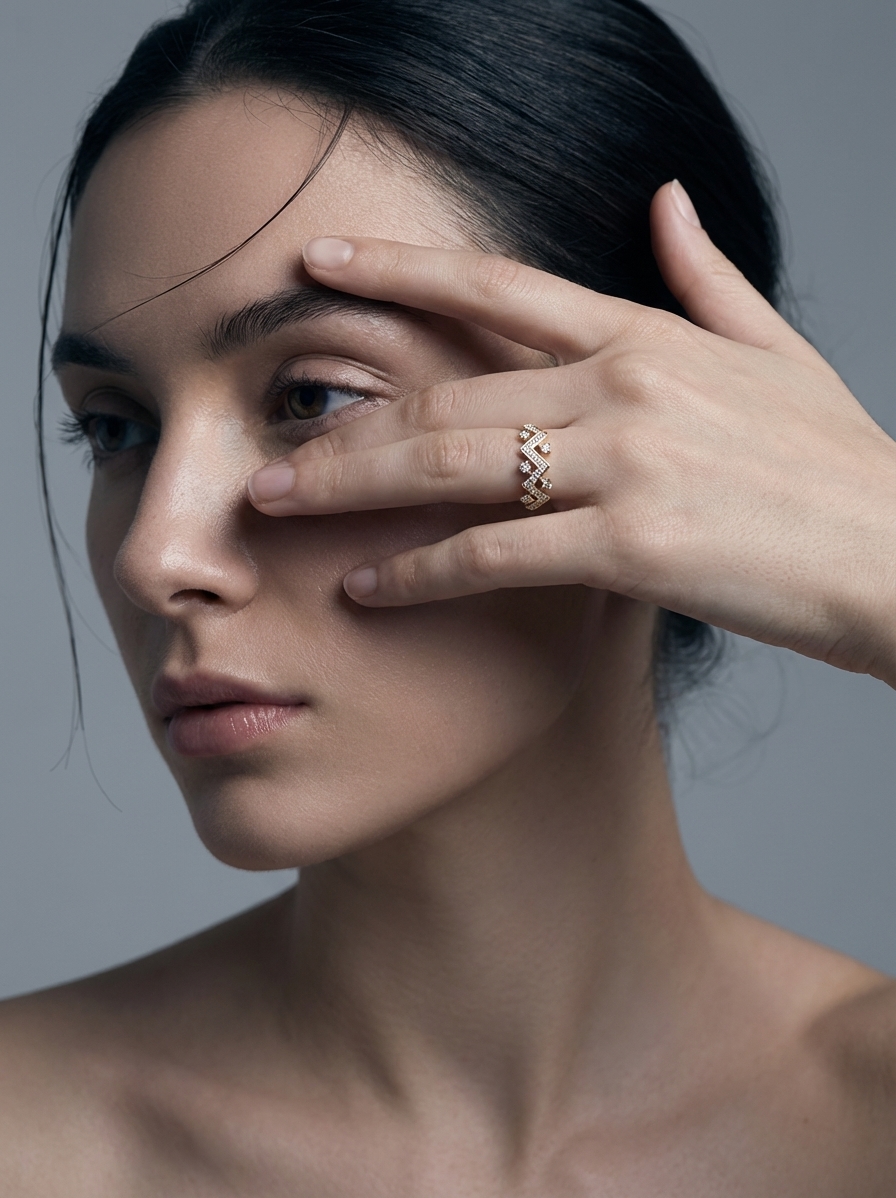
- Photograph it on a hand or finger
- Place it next to a coin or ruler
- Show it on a ring holder or jewelry stand with known proportions
- Include a model shot if possible (even just a hand/wrist/neck)
This reduces returns. "Smaller than expected" is a top return reason for jewelry sold online.
Choose Your Background Carefully
For jewelry, background choice matters more than most categories. Here's what works:
| Background | Best For | Watch Out For | | --------------- | -------------------------------- | ------------------------------------- | | Pure white | Marketplace listings, clean look | Can look sterile, needs good lighting | | Black velvet | Gold and silver pieces, drama | Shows every dust particle | | Marble/stone | Luxury positioning | Can compete with the piece | | Wood | Artisan/handmade brands | Grain can distract from detail | | Lifestyle scene | Social media, ads | Hard to style well at home |
For marketplace main images, white is usually required. For everything else, you want variety. Our breakdown of lifestyle vs white background photos covers when to use each.
How to Photograph Rings Specifically
Rings deserve their own section because they're the trickiest. They don't stand up on their own, they're tiny, and the inside of the band reflects everything.
Positioning tricks:
- Use museum wax or poster putty to hold the ring upright (edit it out later)
- Stick the ring into a small piece of eraser — it grips without scratching
- Photograph at a slight angle (15-20°) rather than straight-on to show depth
- Shoot the ring on a finger for at least one image — it sells the piece
Reflection control:
- Surround the ring with white cards to create a "tent" of soft light
- If you see yourself reflected in the band, move your shooting position or add more diffusion
- A polarizing filter (even a cheap clip-on) can cut reflections dramatically
Let AI Handle the Styled Scenes
Here's the reality: you can nail the raw photo at home with the tips above. Clean piece, lightbox, macro mode, good lighting — that gets you a sharp, well-lit product shot. That's the hard part done.
But creating a styled lifestyle scene? That's a whole different skill set. Props, surfaces, composition, color coordination — it's time-consuming and easy to get wrong.
This is where Flyshot comes in. Upload your clean jewelry photo, and the AI:
- Removes the background automatically (how AI background removal works)
- Generates a professional styled scene — velvet display, marble surface, lifestyle context, whatever fits your brand
You focus on capturing the detail. AI handles the environment. Credits are affordable — see pricing.
Quick Jewelry Photography Checklist
- [ ] Piece is spotlessly clean
- [ ] Lightbox or diffused lighting set up
- [ ] Flash is OFF
- [ ] Macro mode or clip-on lens ready
- [ ] Tripod or stable surface for the phone
- [ ] At least one scale reference shot
- [ ] Multiple angles (front, side, detail, worn)
- [ ] Background matches your brand and platform requirements
Jewelry photography at home takes patience, but the gear investment is minimal. Get the raw capture right, and tools like Flyshot's studio handle the rest.